Not sure how to clean your paint gun properly? Don’t worry, I’ll show you the exact cleaning process for the three main types. From airless paint guns, HVLP spray guns all the way down to the small electric handheld paint guns.
Simply choose the correct step-by-step guide on how to clean a spray gun for the type of paint gun you have. Here are some shortcuts:
- How to clean airless spray guns
- How to clean HVLP spray guns
- How to clean an electric handheld spray gun
Using a spray gun saves you a lot of time and gives you a great finish. But the importance of taking the time to clean your paint spray gun thoroughly cannot be understated. If you don’t, and paint residue is allowed to dry inside, which can cause a couple of things to happen.
Firstly, your warranty will likely not be worth the paper it’s written on. And secondly, if thorough cleaning is not done then you may find it impossible to get your spray gun to work properly, if at all.
Please note – these guides are not meant to be a replacement for the manufacturer’s owner manuals. Although the main components of most paint guns are very similar, some parts may vary from model to model.
Always check for any special procedures required for your spray gun.
Contents (Jump to Topic)
How To Clean An Airless Paint Sprayer
Initially, the cleaning process for airless paint guns can be quite daunting. However, once you’ve done it a couple of times you’ll realise it is actually quite simple. There are just 4 main components to clean, the unit itself, the filters, the gun, and the hose.
Unless you are a contractor or automotive sprayer it is unlikely that you will be using an air compressor system. Therefore, in this guide, I will be talking about how to clean a Wagner spray gun and other similar types of airless spray guns such as Graco and Titan etc.
Ok, let’s get on with it.
Step 1: What You Will Need
Here’s a list of everything you should need:
- A large empty bucket for the waste solution
- A bucket containing water/thinners and a cleaning solution
- Rags or paper towels
- Wrench for disassembling the gun (usually supplied with the paint gun)
- Protective clothing & gloves
Note: If you have been spraying water-based paint, such as emulsion, then warm tap water is all you need. Whereas for oil-based paints you will need a paint thinner (ideally use a recommended paint gun thinner and avoid highly corrosive products).
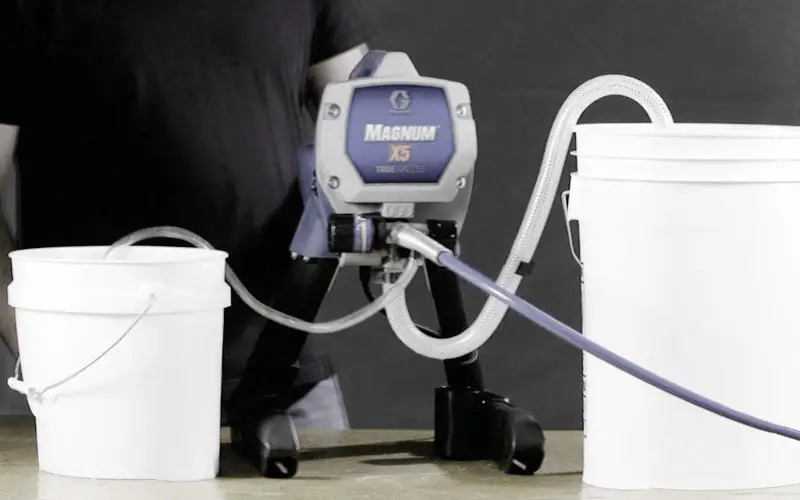
Step 2: Emptying Unused Paint From Pump
- Turn the machine OFF. Turn the air pressure dial to the lowest setting and switch to the ‘Prime’ setting. Hold the gun over the waste bucket and pull the trigger to release pressure.
- Remove the suction tube (intake pipe/siphon tube) from the paint and place it into the cleaning solution.
- While *HOLDING the outlet pipe (prime tube) over your tin or tub of paint slowly increase the pressure. The remaining paint will now be slowly pumped out. As soon as you start to see water or thinners coming through stop.
- Place the outlet tube in the bucket with the cleaning solution.
Be sure to always hold the outlet pipe when in the ‘Prime’ prime position, if you don’t it will jump about and paint will go everywhere.
Step 3: Emptying Unused Paint From The Hose Line
Check that the air pressure is set to its lowest setting and turn the paint sprayer to ‘Spray’ mode.
While holding the paint gun in your paint tin (be careful as this may splatter paint) press the trigger and slowly increase the pressure. As soon the paint stops and you see flushing fluid release the trigger and reduce the pressure.
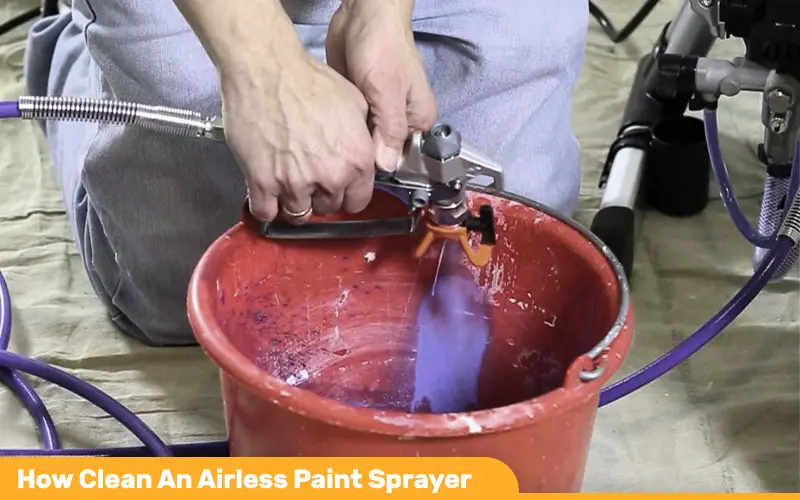
Step 4: Flushing Out The System
With your suction hose still in the cleaner solution or thinners, place the outlet/prime tube into the waste bucket and aim the paint gun in the waste bucket, pull the trigger and slowly increase the pressure (be careful of splashback). Continue doing this until you see no signs of paint, if necessary top up the cleaning solution.
Once this is done, put the machine back in prime mode and let the system cycle for a while. It will normally take more than one bucket of water to fully clean out your system.
Always make sure you dispose of paint correctly – it’s illegal to pour it down the drain! Here’s a guide from B&Q which explains it well.
Step 5: Cleaning The Spray Gun Filters
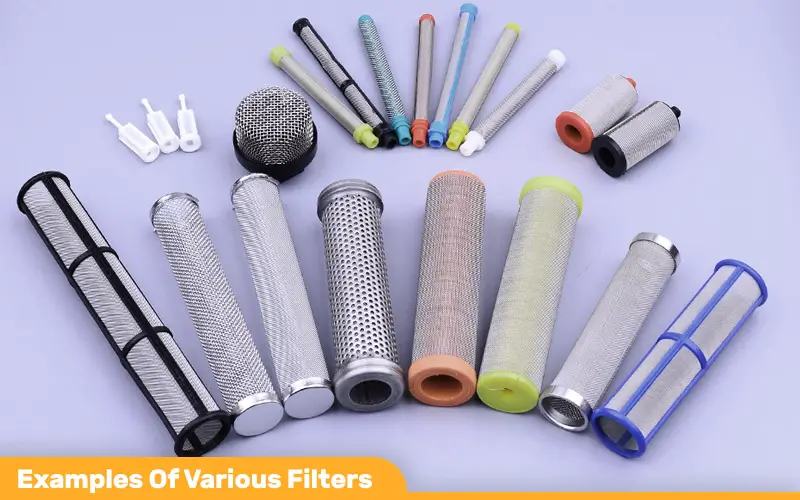
Generally, there will be 3 filters in your machine, but check out your owners’ manual to find yours.
- Suction filter – the suction filter is, as the name suggests, found on the base of the suction tube/intake pipe.
- Manifold filter – this is usually found on top on one or the other side of the pump unit
- Pencil gun filter – the pencil filter is in the handle of the spray gun itself and normally accessed by unscrewing the handle
Once removed place them in some cleaning solution and agitate to clean. For stubborn paint residue, use a soft toothbrush etc and gently scrub.
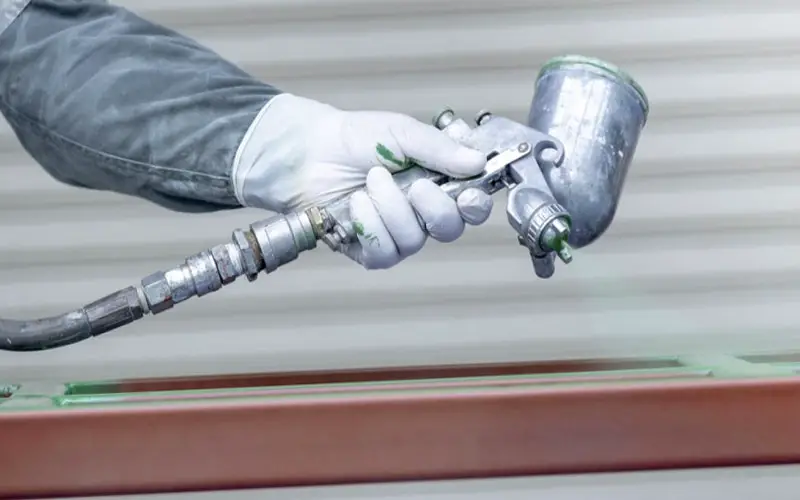
6. Cleaning The Paint Gun Body & Nozzle
- Remove the spray guard and spray tip and place in the cleaning solution
- Use a small brush, such as a small bottle brush or toothbrush and gently clean
- A wooden toothpick is ideal for clearing the small holes if blocked. Wood will not damage the metal, if you use a metal needle to unblock the holes do so with caution.
- Using a pipe cleaner or similar you can now clean the main body of the gun and flush through. Some smaller parts are fragile so only use soft brushes. Finish off by wiping down with a rag or paper towel.
Note: Failure to do this step thoroughly will make it impossible to achieve a smooth finish on your next painting project.
How To Clean A HVLP Spray Gun
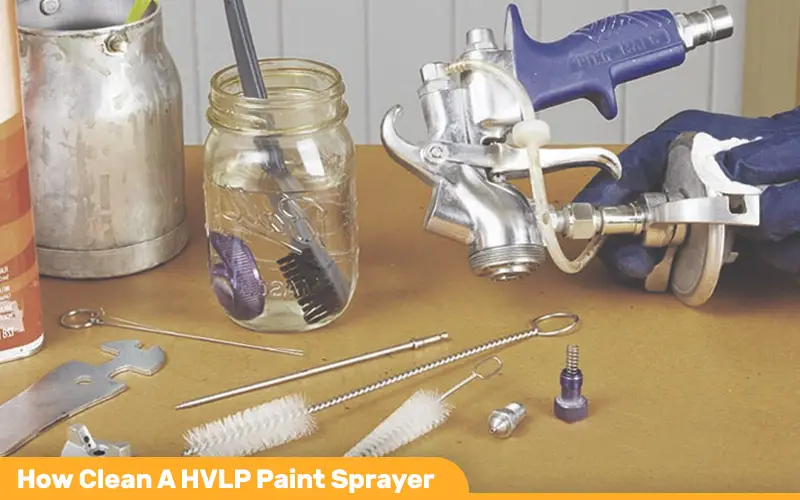
When compared to airless spray gun cleaning, the cleaning process for an HVLP paint gun is a little easier and quicker.
However, it is just as important if you want your spray gun to last and work just like new next time.
Step 1: What You Will Need
- A bucket with clean warm water or paint thinner (mineral spirit)
- A bucket for waste
- Rags or paper towels
- A spray gun cleaning kit or toothbrush and toothpicks
- Wrench to disassemble the spray gun (this is usually supplied with the gun)
- Safety gear: protective eyeglasses and gloves
Step 2: Cleaning The Paint Cup
- Disconnect the paint gun from the hose and remove the cup, empty all the remaining paint back into the paint bucket.
- Wipe excess paint from inside the cup and cap
- Remove the filter from the feeding tube (if fitted) and clean
- Reattach the cup and fill about half full with cleaning fluid (water or solvent)
- Swirl the solution, reconnect the hose and pull the trigger to flush through into your waste bucket.
Note: If you are using a gravity-fed paint gun you will not need to connect the hose to do this step.
Step 3: Disassemble The Gun For Deep Cleaning
Once the paint cup is clean you can start to disassemble the gun. Note: paint guns all vary, please refer to your user manual to find the instructions specific to your model
- Remove the air cap, the needle (being careful not to lose the spring) and lastly remove the spray tip using a wrench (usually provided with the gun)
- Carefully place needle and spring to one side and put the other parts into your solution
- To clean the paint gun body simply use the brush to clean all areas of the entire gun
- Being careful not to bend it, give the fluid needle a wipe and gently scrub the air cap and spray tip. Reassemble.
Note: When cleaning the air cap ensure that all the holes are clear. The best tool for this is a wooden toothpick as using wood will ensure you do not damage the air cap.
How To Clean An Electric Handheld Spray Gun
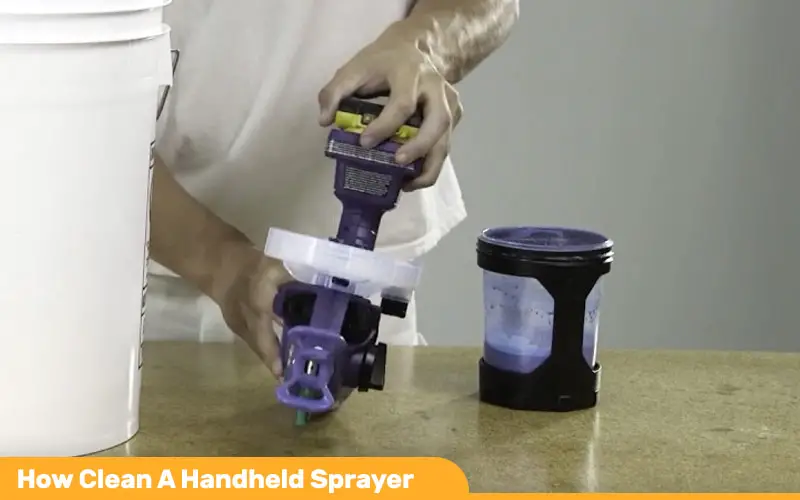
Electric handheld paint sprayers are extremely popular with DIYers. However, because they are less powerful the slightest amount of paint residue left behind can ruin your next painting project.
I can only talk in general here as there are so many different types of electric handheld sprayers always refer to your owners’ manual for your make and model.
Step 1: Cleaning The Cup
- Remove the paint cup and empty it into the original container. Rinse out and wipe clean
- If fitted remove and clean the intake filter
Step 2: Flush The Paint Gun Clean
- Fill the cup with your cleaning solution, reattach and spray into a waste bucket
- Repeat until the water or paint thinner sprays clear
Step 3: Clean The Spray Nozzle & Small Parts
- Dismantle the paint sprayer as per the manufacturers’ instructions. (Sorry, these machines vary quite a lot so I’m unable to be more specific)
- Give all the parts a thorough cleaning, making sure that the holes in the spray tip are clear (Use a wooden toothpick if blocked)
- Leave to air dry then reassemble your paint gun
Storage Tips & Final Thoughts
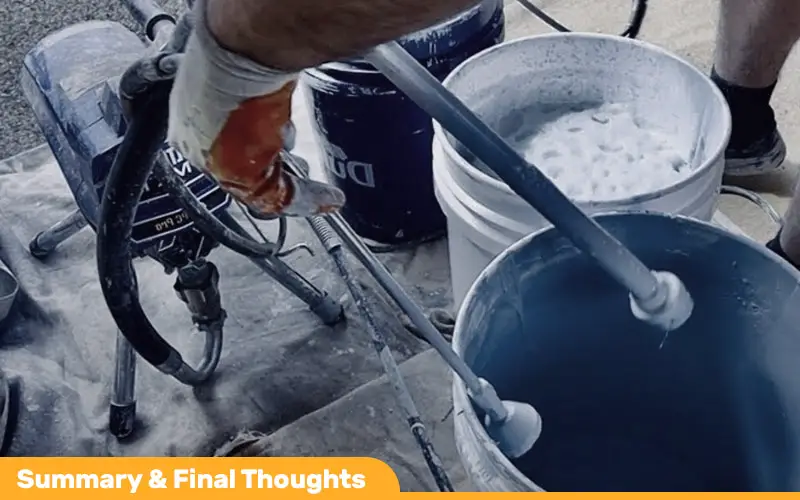
Before putting your paint gun into storage for prolonged periods you need to protect it. Check the manufacturer’s recommendations after cleaning, as generally mineral spirit or ‘pump armour’ is called for to protect the sprayer from corrosion and even freezing temperatures.
To sum up, remember, nearly all spraying problems are caused by lack of maintenance or careless cleaning. Never walk away and leave paint sitting in the unit, dried paint is your enemy. Take your time when you clean a paint gun and take good care of it, that way it will be just like new for the next use.
People Also Ask (FAQ)
I hope you have found these cleaning steps helpful and are now confident in how to clean a paint gun. Below are a few answers to some of the most frequently asked questions, hope they help.
What do I use to clean HVLP spray gun after use?
The cleaning solution used to clean an HVLP spray gun after use will depend on the materials being sprayed. A warm water solution is all that is needed for water-based products, while oil-based materials will require a paint thinner or mineral spirit.
Can I use acetone to clean a paint sprayer?
Used in any quantity acetone can not only be hazardous, it can cause health issues. There are many alternatives on the market to choose from. Personally, I do not recommend the use of acetone to clean a paint sprayer.
How long can I leave paint in my paint sprayer before it dries?
You should never leave paint sitting in a paint gun, even for a few hours. How long it takes to dry is variable. The product that is being used, the ambient temperature and the size of paint sprayer will all play a part. For airless sprayers, if you keep the suction hose in paint and submerge the gun with hose attached in water the system will remain airtight and thus paint can, in theory, be left in the machine longer.
What is the best way to store a paint sprayer?
Before you store a paint sprayer it needs to be thoroughly cleaned and protected from corrosion and freezing. After following the recommended cleaning process for your model you can then use a mineral spirit or pump guard for protection.
Should I clean my paint sprayer during coats?
You don’t really need to clean your paint sprayer in between coats unless changing colours. However, it is worth checking the air cap and fluid tip. If there is any build-up of material it’s worth giving it a clean with a small bristle brush and some thinners.
