
Worried about getting damaged or cracked tiles when drilling holes in your newly tiled bathroom or kitchen? You’re not on your own, don’t worry, follow my easy step-by-step guide on how to drill into tile and you’ll never need to read another guide.
Here I cover the types of drill bits required, the methods used, and the different types of tiles you might come across.
Contents (Jump to Topic)
Ceramic Tiles Vs. Porcelain: What’s The Difference?
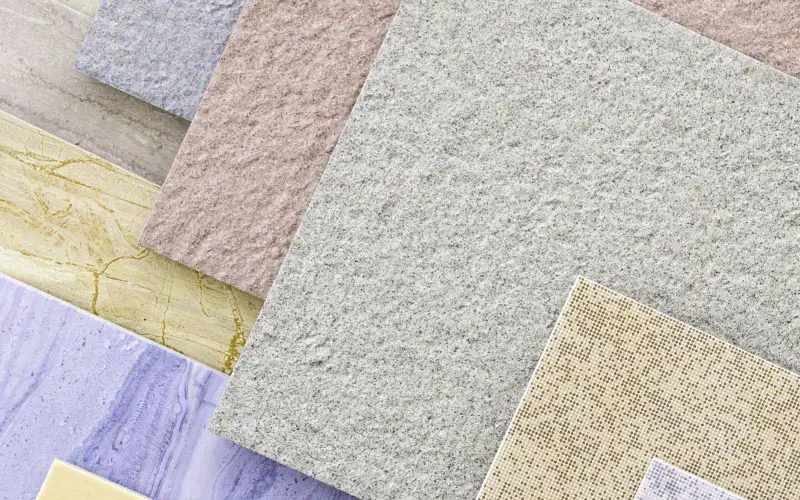
First up, what are the different types of tiles you’ll generally find? Well in all my years of experience, the two main types of tile usually found in bathrooms and kitchens are – glazed ceramic tile and porcelain tile.
If you are taking on a new tiling DIY project don’t be tempted to assume that because porcelain tile is often more expensive (up to 60% more expensive) it’s better. It’s not always the case.
Porcelain tile is made using a more refined material than used in the manufacture of ceramic tiles. The end result is that porcelain is denser, less porous, and more durable than ceramic tile. Although porcelain tile can be used in the home, it is more widely used in commercial settings that receive heavy usage or footfall.
If you enjoy watching how things are made, check out this interesting video from Everstone Australia to watch how they manufacture porcelain tiles.
Ceramic tile is ideal for the average household and it is far more user-friendly, cheaper, and easier than porcelain to install.
And the main benefit is that when drilling ceramic tiles you are far less likely to end up with damaged or broken tiles than when drilling porcelain tiles.
What Kind Of Drill Bit To Use For Tile?
A question I often get asked is – can I use my regular Combi drill to drill holes into tile? Yes, any standard combi corded or cordless drill will do the job just fine. (Be sure that it is set to ‘drill only’ and NOT on the ‘hammer’ setting if it has one).
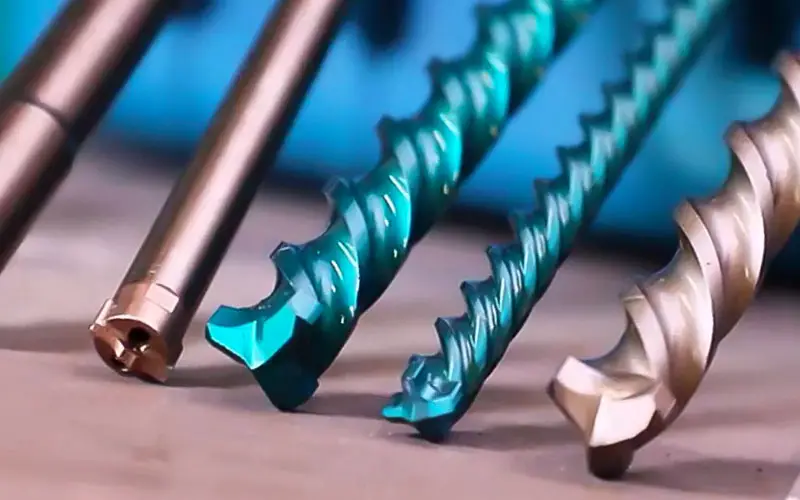
That said, a regular drill bit will not work on tiles, you will need the correct drill bit when drilling tiles.
To drill through tiles you will require a specialist drill bit. For ceramic tile any drill bits designed for tile are fine. You can also get away with regular masonry bits you’d use for drilling brick if you don’t care too much for the tile you’re drilling into.
Tile drill bits are readily available and can be bought either individually or in a small set and neither will set you back a fortune.
The best drill bit for porcelain tile is a diamond-tipped drill bit, either twisted or cylindrical. They are not overly expensive and you can pick up a set of diamond-tipped drill bits easily online or in your local hardware shop.
How To Drill Into Tile: Easy 6 Step Guide
Trust me, it really isn’t difficult to drill tiles without cracking them (when they are already on the wall). Having a little bit of know-how and the correct tools makes drilling into your newly tiled wall a little less stressful.
I should mention that if you’re attempting to drill into a tile with a pillar drill, then you will need to take additional precautions to make sure you don’t end up breaking it!
Ok, let’s get on with my guide to drilling through tile.
What You’ll Need:
- A cordless or corded drill (it doesn’t need to be a top of the range SDS drill)
- A masonry drill bit or diamond-tipped drill bit for porcelain
- Tape measure
- Masking tape
- Spirit level (if two or more screws are required)
Step 1: Safety First

Before you start drilling tiles or any wall surface, it is extremely important that you ensure there are no electrical wires behind the tile.
The safest way to check for wires is with a stud finder featuring a warning alarm for electric wiring. Stud finders are readily available and won’t set you back a fortune. Personally, I think every DIYer should have a stud finder in their toolbox as they come in handy for most projects.
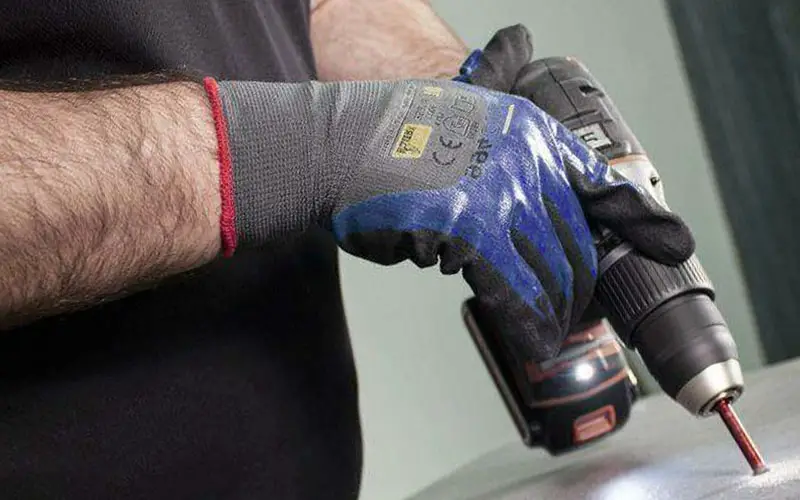
Also wear the correct protective equipment i.e safety goggles, dust mask, and protective gloves. Tile chips can be hazardous for both hands and eyes.
Step 2: Know Your Tiles & Choose Your Drill Bit
Having the right tools is imperative for any successful DIY project. And, although any standard power drill can be used to drill through tiles, the right type of drill bit is required. Regular wood drill bits will not work.
Masonry carbide-tipped drill bits are best as mentioned above for ceramic tiles while a diamond-tipped drill bit is required for porcelain or natural stone tiles.
Note: Always ensure that your drill is set to ‘drill only’ or ‘rotary mode’. Never use a hammer drill as it will create vibrations and risk your tile cracking.
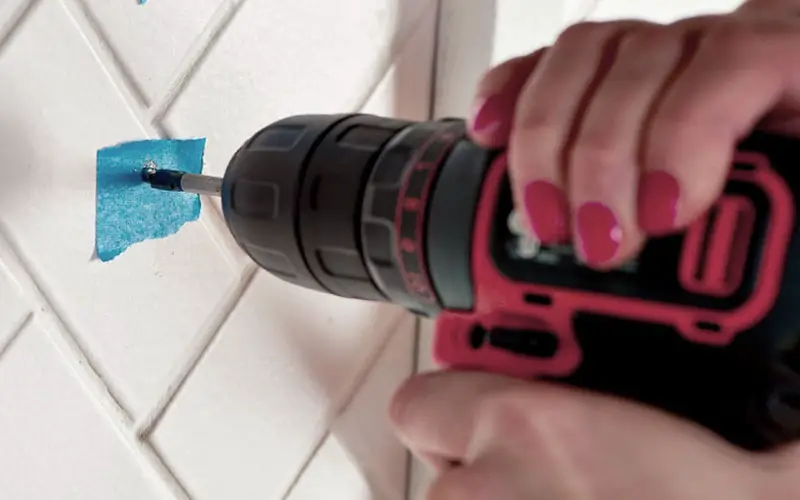
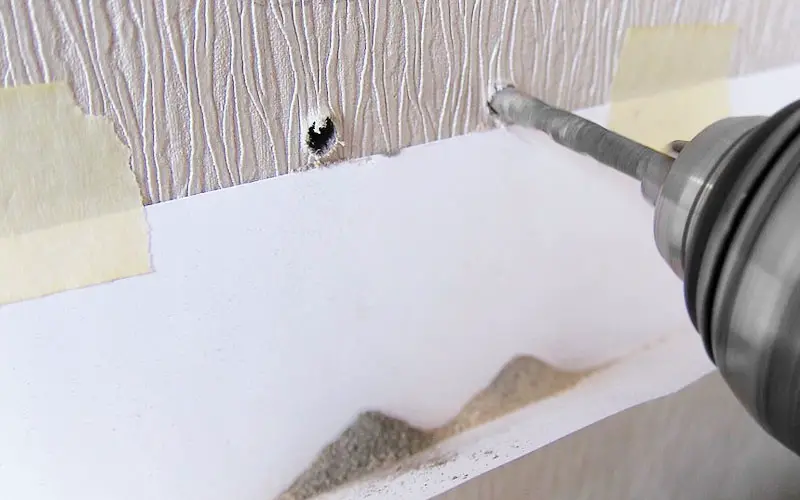
Step 3: Use Masking Tape (Or Similar)
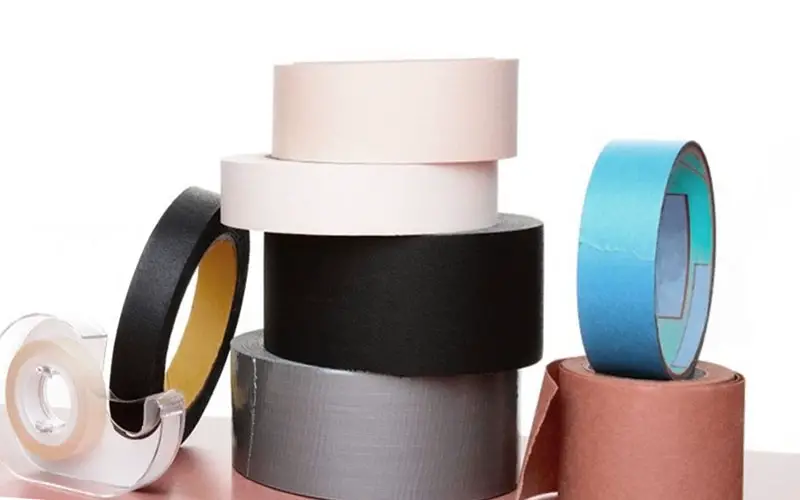
Once you know where you will be drilling place some masking tape onto the tile. This helps with a few things.
Firstly, it makes marking the drilling points easier. Next, and more importantly, it helps to stop your drill bit from slipping and sliding on the tile surface when you begin to drill. And lastly, it will help stop the tile from chipping around the drill hole during drilling.
Note: Always try to drill as close to the center of the tile as possible, this will help to avoid cracking on the edges.
Step 4: Measure Twice, Drill Once
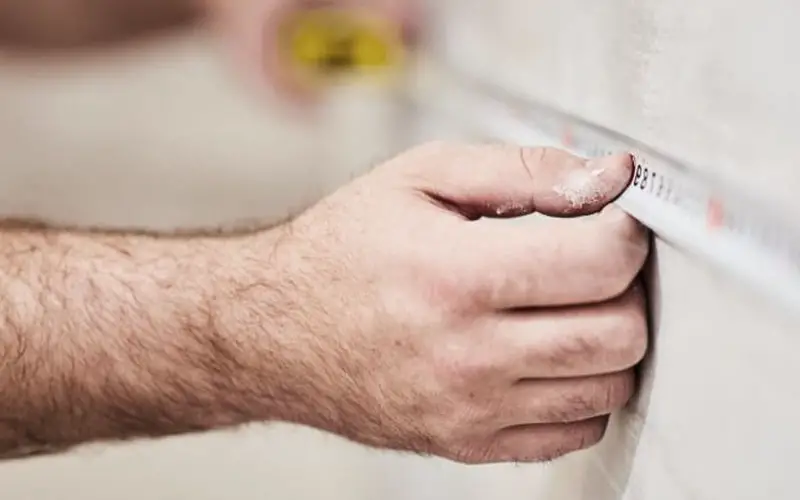
Remember, holes made in tiles cannot easily or effectively be filled. So do not rush this part.
Always measure twice and drill once. And, as a final check that the marked drill point is in the correct position, offer up your shelf brackets or bathroom accessories, etc.
Step 5: Start Drilling Your Hole
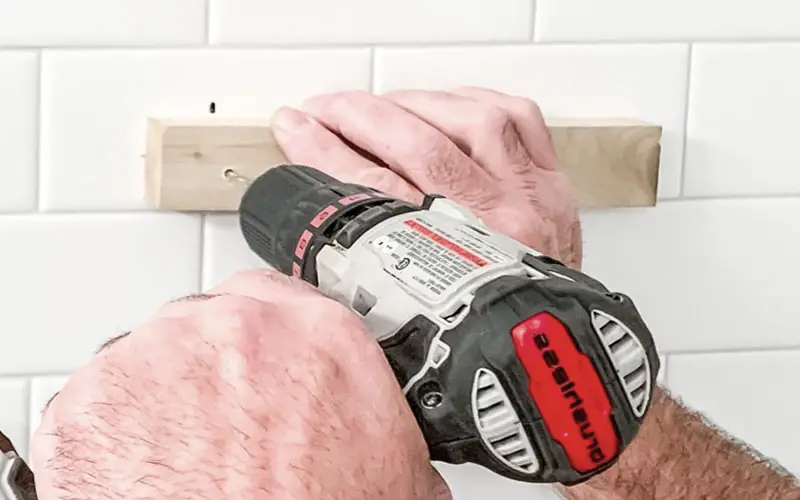
Apply light to medium pressure and gently begin to drill slowly at first until the hole gets started, Gradually increase the speed once you start to drill deeper, but don’t go at full speed. Slow and steady wins the race.
Once you are through the tile and start drilling deeper into the wall you will hear and feel a change in the resistance.
Release some of the pressure, speed the drill up, and continue until the required depth is reached.
Note: The key to tile drilling is to apply constant pressure, but never too much pressure as this can damage the drill bit. If your drill bit starts to get hot stop drilling and cool it down with a wet cloth or sponge.
You can also move the drill in and out of the wall to remove the dust it creates in the hole.
Step 6: Finishing Off
Once you have finished drilling, clear as much dust and material as possible from the hole to ensure a secure fixing. Now put in your wall plug / wall anchor. The size of the wall plug will depend on the fixture, we’ve covered UK Rawl plug sizing here (opens in a new tab).
Clean off the tile with a damp cloth and you are ready to attach your fixture.
All that’s left to do is sweep or vacuum up any mess from the floor.
Final Thoughts For Drilling Tiles
As you have seen above, the drilling process for drilling through tiles in itself is not an overly complicated DIY task. It’s not that more complicated than drilling into brick walls.
However, patience is required, and by using low to medium pressure on the drill, and drilling slowly at a low speed you can accomplish it without any cracked or damaged tiles.
People Also Ask (FAQ)
There you have it guys, all you need to know to get those bathroom fixtures up on your tiled wall. I hope you found this article useful, below are a few answers to some of the most commonly asked questions to help you further.
Do you need a hammer drill for tile?
You should never use a hammer drill for drilling through tiles. The pounding from a hammer drill is all but guaranteed to crack your tiles. Using a regular drill with a carbide or diamond-tipped bit will do the job.
Does porcelain tile break easily?
Once installed, porcelain is extremely durable and hardwearing. However, because of its hardness porcelain tile is prone to breaking easier than ceramic tile when being cut or drilled.
What can damage porcelain tile?
There is actually not a lot that can damage porcelain tile once laid, however corrosive and harsh chemicals such as bleach can. When cleaning it’s recommended that you use a neutral pH detergent with warm water and a mop.
Can I drill into the grout between tiles?
Drilling into the grout between tiles is not recommended for two reasons. Firstly, it will not give a secure fixing for a wall anchor or plug and secondly, you are at risk of chipping or cracking tiles.
Are all masonry bits carbide tipped?
Masonry bits come in many shapes and sizes. However, because they are designed for drilling through concrete etc. in general all masonry bits will be carbide tipped.
