Do you want to put down the brush and roller and speed up your painting jobs using a paint sprayer?
Well, knowing how to use a spray gun properly is not as easy as you may think. Here I’ll cover everything you need to know from painting techniques, spray patterns, viscosity to spray tips and nozzles.
Although spray painting may look simple when in the hands of professionals, trust me, it takes practice to achieve a smooth even coat. Yes, rollers and brushes will do the job but it can be slow going and, leave roller and brush marks.
This is especially true when painting uPVC windows & doors, cupboard doors and other flat surfaces.
Master the art of how to spray paint correctly and give your surfaces a professional finish.
As you follow my step-by-step guide for using a paint sprayer you will also learn how to choose the right paint sprayer to suit your DIY projects. So let’s get started.
Contents (Jump to Topic)
Step 1: Preparing Your Materials & Area
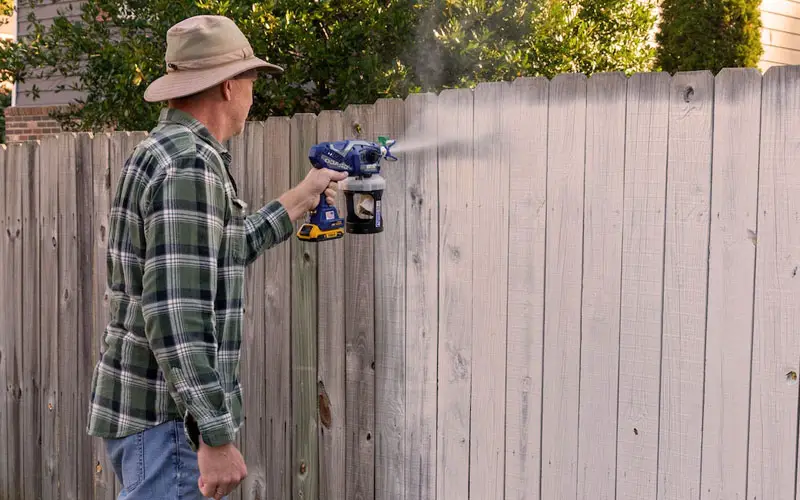
Spraying paint with an airless or HVLP sprayer is a super fast and efficient way to spruce up your home, refresh your fence and even give your garden furniture a new lease of life.
However, as with all DIY projects, preparation is everything.
Prepare Your Surface & Work Area

First, prepare the surface you will be spray painting. Fill any holes and rough spots, rub down to remove any loose paint, and properly clean to rid it of any dust or dirt. There’s more information on preparing walls from Benjamin Moore here.
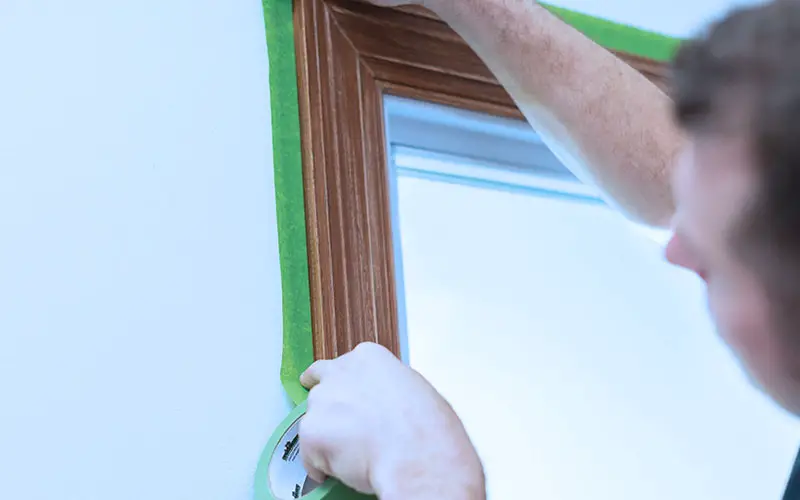
Always spray in a well-ventilated area that is cleared of any obstacles or tripping hazards. Use masking tape to cover sockets and switches, etc.
Cover up any nearby surfaces, such as windows and doors, in fact, anything you want to protect from overspray (tiny paint particles that remain in the air).
And most importantly, protect flooring by placing dust sheets down.
Materials & Equipment
Check you have all the materials and equipment needed at the ready. This includes having the correct spray tip, as this will vary depending on the materials being used.
Don’t worry I’ll be going into more detail about the paint thickness required a little further into the article.
If you are using emulsion paint the chances are that you will need to thin it before putting it into the paint cup and through the spray gun. It is therefore important that you have the appropriate paint thinner, to hand.
This could be plain water for water-based products, paint thinners or mineral spirits for oil-based paint. Again, I’ll go into more detail a little later on in the article.
Here’s a Youtube video showing you the process more in-depth:
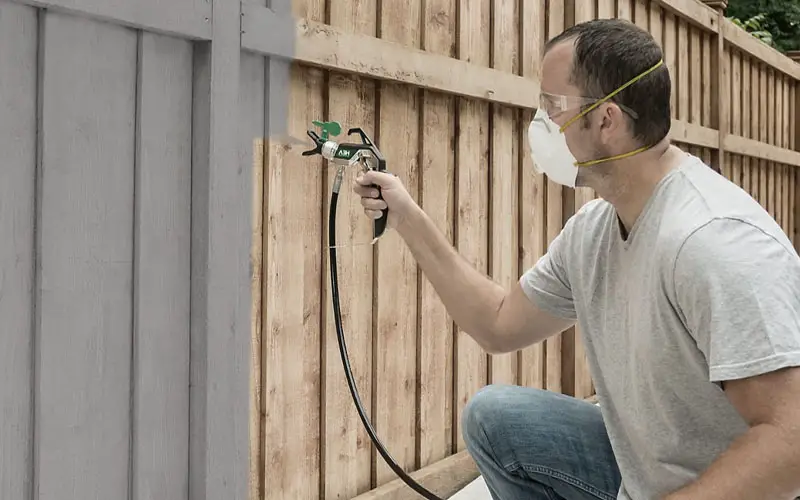
Protective Clothing and Safety Gear
Paint spraying can be messy work depending on the type of paint sprayer you are using. This is especially true while you are learning to use your new paint gun. So wear appropriate protective clothing, always wear a mask, safety goggles, and gloves.
Top tip: buy some cheap disposable shoe covers and you will avoid traipsing paint into other rooms.
Step 2: Adjusting Paint Viscosity
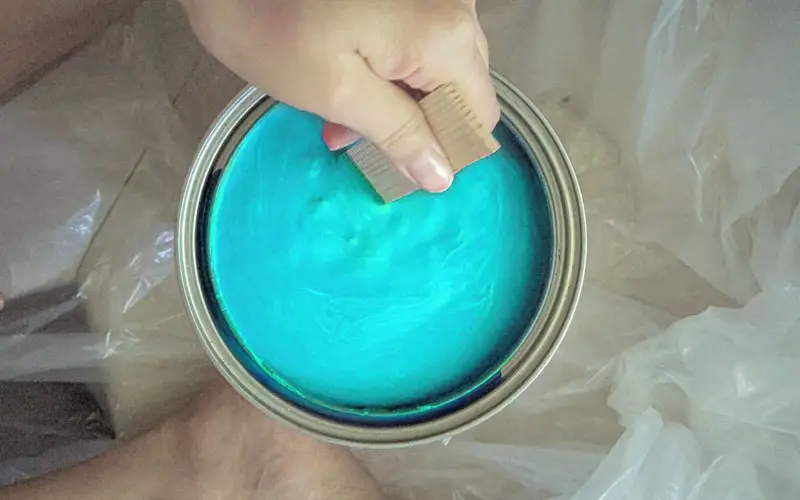
It is really important to ensure that both the viscosity (thickness) of your materials and the pressure are correct for spray guns to be efficient. For example, thicker materials require more air pressure to atomize the paint and achieve a nice even coat of paint while avoiding spattering.
By far the easiest way to get the thickness of your paint correct is by using a viscosity cup. Although a lot of manufacturers will supply one with the paint sprayer, they are readily available online should this not be the case. Once you have your paint ready it’s time to prime the machine.
Step 3: Setting Up and Priming Your Paint Sprayer
Ok, so you have everything cleaned down and ready. Now it’s time to set up and prime your machine.
But because there are different types and models, I can only discuss this in general terms. You’ll always be best refering to your instruction manual for the start-up process specific to your spray gun.
So let’s run through the basic processes for setting up each different type of paint gun.
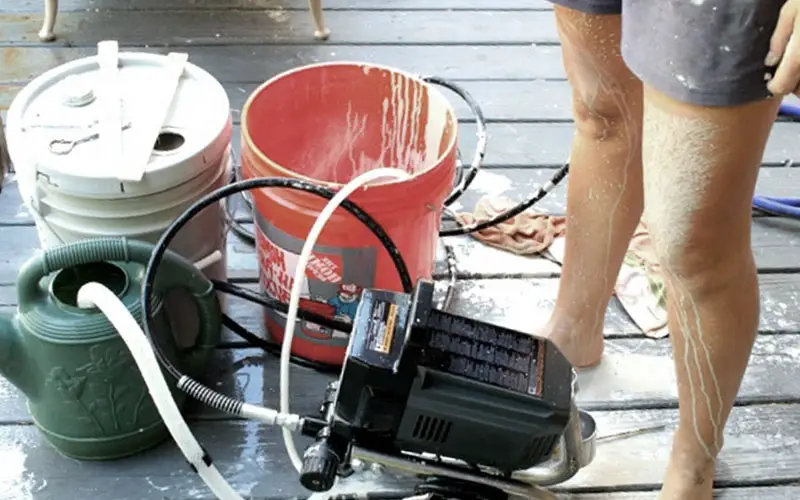
Setting Up & Priming An Airless Sprayer
In general, an airless spray gun will draw paint directly from the paint pot, eliminating the need for constant refilling. This is what makes airless paint sprayers great for spraying large areas, such as ceilings and walls, and, the ideal tool for keen DIYers and contractors.
However, they are more complex than other types of paint sprayers when it comes to setting up and, cleaning once your paint job is complete. Click here to learn more about how to clean a spray gun, be it airless or HVLP.
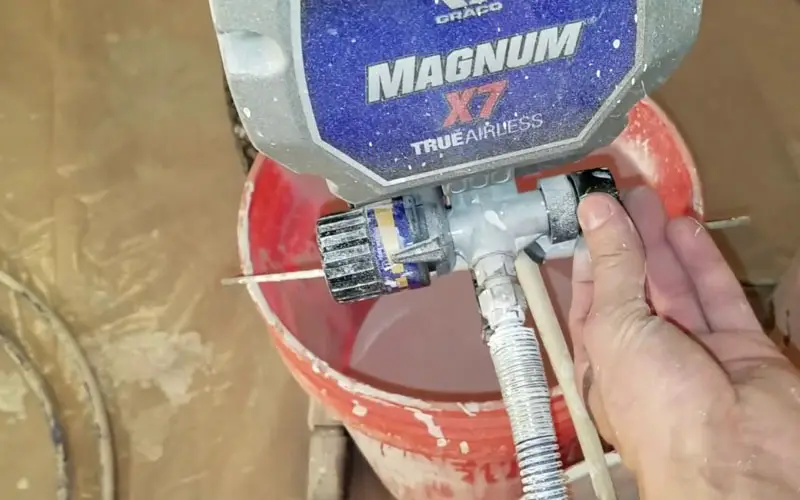
Before you can start paint spraying with an airless spray gun you need to PRIME the machine, air hose, and spray gun. And, although this is actually quite a simple process, it can be quite daunting for a beginner the first few times.
Priming a paint sprayer is the process of removing all air from the system and building up pressure within the cylinder, gun and hose.
When the machine is ‘primed’ and ready you next need to find the right air pressure and adjust the spray pattern required for the paint and task in hand.
Setting Up HVLP Sprayers
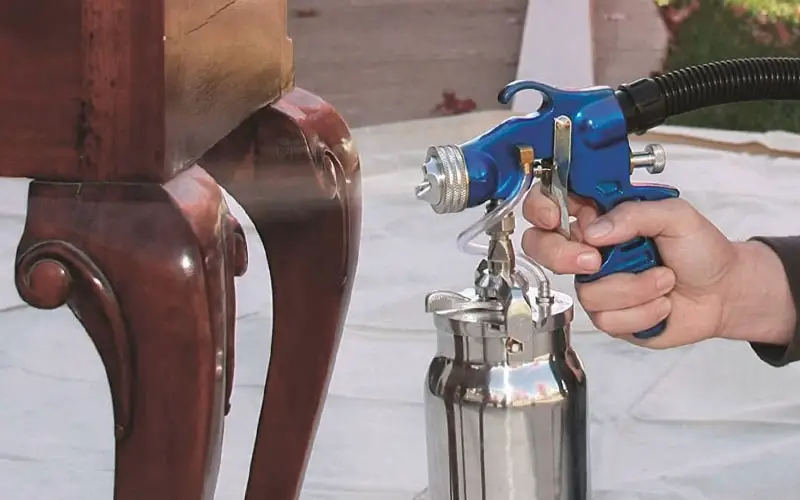
With modern technology, an air compressor is no longer an essential piece of equipment to spray paint. An HVLP (High-Pressure Low Volume) paint sprayer requires only low pressure, and unlike airless sprayers, do not need to be primed making them quick and easy to set up.
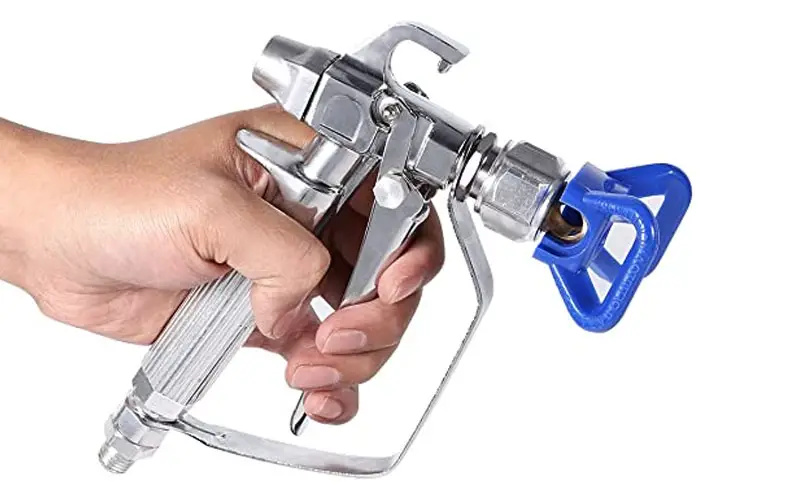
First, thin your paint if necessary, remember to always mix enough paint for the whole job. Next, select the appropriate spray nozzle for the thickness of the material and adjust the paint flow valve to spray the right amount of paint for a nice even, and light coat.
Lastly, set the spray pattern required. It’s best to practice on a bit of cardboard to get this right.
Step 3: Adjusting The Pressure
The pressure required will vary and the only real way of setting it perfectly is to test the paint spray before painting your surface. Not all paint sprayers will have a pressure gauge so it is a case of adjusting the valve. Start low and work your way up until you achieve the best finish.
If you are spraying with an airless model, then the PSI (pounds per square inch) could range between 1800 to 2400. Start low and gradually work up
Step 4: Testing The Sprayer
Before you start spraying your surface you really must test your gun is set correctly. To do this you can either tape some paper onto a flat surface or simply use some broken-down cardboard boxes.
First, familiarize yourself with all the valves and dials on your spray gun, different types of paint sprayers will vary so refer to your owner’s manual. You may well have to play around with the flow valve and pressure a reasonable amount the first time.
But, don’t worry, once you have done this a few times it will become natural.
Step 5: Using The Proper Technique
Taking the time to learn the proper spraying technique will save you a lot of time, hassle, and money.
Here are some practical tips to help you on your way.
One of the biggest mistakes beginners make is to swivel the wrist, which is a definite No-No. Always hold the gun nozzle perpendicular and at a constant distance from the painting surface. Between 25 and 30 cms (10-12 inches) is ideal.
Start to move before you start spraying and, remember, move your whole arm and body, NOT your wrist.
Paint sprayers spray a lot of paint out and fast, so you will need to move back and forth at a quick but even speed using long even strokes. Slow down or get too close and you will be spraying far too much paint onto the surface resulting in drips.
But, when you succeed in getting to grips with this you will have sprayed a nice even coat with no drips.
Last but not least, spray an overlap, yep you read that right, overlap each pass by approx 50 percent. By doing this you avoid painting stripes along with ensuring that there are no lightly covered areas.
Step 6: Monitoring & Adjusting
As you progress over a large area, stand back and check that all is good. Adjustments can be made if needed. If you feel you are not achieving the desired finish and are a long way off, then do another test spray and make any necessary adjustments.
It’s also a good idea to keep a brush or roller handy to touch up or backroll.
Final Thoughts
It is important to realize that spraying paint takes practice. Don’t be disheartened if you don’t get the perfect finish the first time. Just think about all the time you will be saving in the future.
People Also Ask & Frequently Asked Questions
Still a little unsure? No worries, here are the answers to a few commonly asked questions. Happy spraying guys.
Is it easy to use a paint sprayer?
Learn the proper spray painting technique and do a little practice and you will find using a paint sprayer easy. It’s harder to keep the machine properly cleaned and maintained than it is to use it to spray paint.
How do you prime a Wagner paint sprayer?
Here’s how to prime the popular Wagner Procoat paint sprayer. Set the dial to ‘Prime’. Place the paint suction tube into the paint bucket and the return tube into a waste container.
Turn ON the machine, when you see the paint coming from the return tube turn the machine OFF. Place the return tube into the paint bucket and turn the dial to the spray position.
How do you prime a Graco paint sprayer?
To prime a Graco paint sprayer first place the suction hose into the paint bucket and the return tube into a waste container. Turn the ‘Prime’ valve to ‘Prime’ (some machines may be ‘Drain’).
Next, turn the pressure dial to the lowest setting and turn the machine ON. Slowly increase the pressure until the motor kicks in. Once the paint is running through the return tube turn the machine OFF. Turn to spray and you’re ready to go.
Does a paint sprayer use more paint?
Although using a paint sprayer does use more paint, the finish you get and the time you save are well worth the small extra cost in materials.
